

After a long, long day, you may feel tired and drained, with not much energy left for “ME TIME”. But you should not- and you MUST NOT- go to sleep without properly cleaning your skin. When it becomes a routine, and you have all your products set up together in the proper, reachable order, the whole process takes less time and becomes automatic. I think I have slept with makeup on twice in my life; other than that, for me, it’s a must to clean my face at night, no matter how tired or unmotivated I feel. And my skin is grateful for this. Since the morning, it has accumulated unnecessary oils, dust, and products. We have to let the skin breathe for a few hours and give it the treatment that it needs.
Disclaimer: This post may contain affiliate links which means I may receive a commission for purchases made through links. I will only recommend products that I have personally used! Learn more on my Privacy Policy page.
The nighttime skincare routine can have a few more steps than the morning routine, as we are not that in a hurry to rush out the door, and we can also address specific issues the skin has. Plus we can do some pampering- like putting on face masks or doing a quick massage.
Today I will stick strictly to the basic routine: the minimum steps for achieving clean and hydrated skin before going to sleep.
I have included a short video below showing the main steps in the routine, and you can add more according to your skin’s needs if you would like to.
My PM skincare routine starts with double cleansing. I will write a separate post about this process, as it is the single thing that changed my skin for the better in a drastic way. I can’t believe I didn’t do it sooner. Because I use makeup almost daily, live in an urban area, and have a combination skin type (oily in the T-zone, dry on the sides during winter, and normal in the summer), I need a first step to clean away the heaviest buildup. The second cleanser is gentle but still removes any leftover oil, makeup, and dust. After that, we move on to rebalancing the skin’s PH , moisturizing it, and applying a pimple treatment or any other kind of treatment the skin needs at the time.
So let’s get into it!
Step 1 in the PM skincare routine: part 1 of the double cleansing

For the last two years or so, I have preferred using a cleansing balm over micellar water, which is the other option for the first step of double cleansing. That is because micellar water dries out the skin a little bit. If you don’t have issues with the skin, it’s a perfect choice.
The Clinique Take the day off cleansing balm is an OG product that can remove the most stubborn makeup you can think of, basically dissolving long-wear product. The key ingredient is the safflower seed oil, which breaks up the other oils on your skin and dissolves the makeup. It’s rich in linoleic acid, which leaves the skin feeling soft.
The product is quite potent, so you only need a pea-sized amount. You apply it all over your face and massage gentle; it can also be used around the eyes( it dissolves waterproof mascara and long-wear eyeliner like magic). Finally, you rinse it off with lukewarm water.


Step 2: part 2 of the double cleansing
After most of the makeup and oils have been removed, we need to clean away any remaining oil cleanser from our face, along with what is left of the makeup, dirt, and sunscreen.
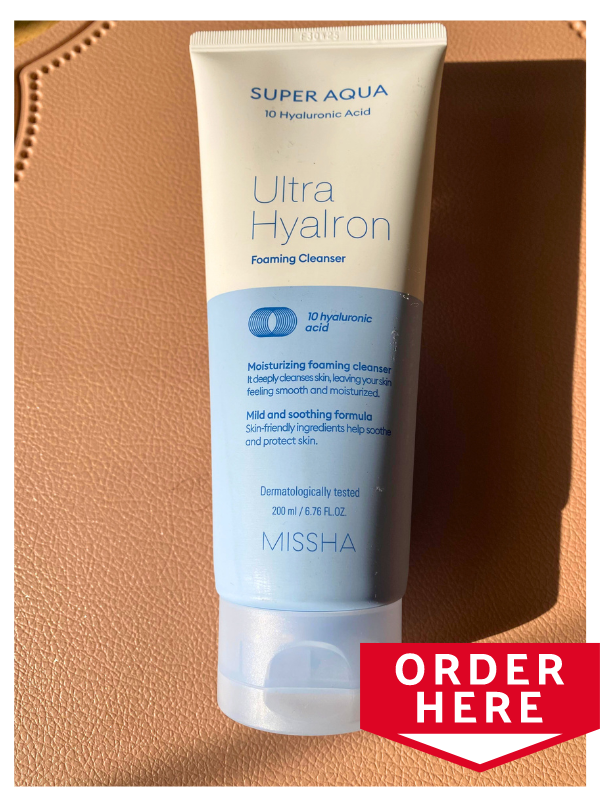
While the morning cleanser is a gentle one, the PM one has to clean the skin well, but not strip it of its natural oils- so it should still be gentle, but more powerful. The MISSHA Super Aqua Ultra Hyalron Cleansing Foam is the perfect choice. Coming from the experience of K-beauty, which puts so much effort and love into skincare, this cleanser is smooth , yet strong. It creates a foam that is so nice to lather on the skin, making the washing a pleasant moment. It also contains 10 types of hyaluronic acid to penetrate the top layer of the skin and keep it hydrated. It is recommended for sensitive skin that needs proper deep cleaning. To use it , you need a dime-sized amount of product, which you need to spread all over your face, massage for at least one minute(I know, sometimes it’s hard when we are so tired, but it’s so worth it) and rinse with lukewarm water and pat dry with a clean towel or paper towel.

Step 3: Applying toner

I cannot emphasize this step enough; it’s importance in reestablishing the pH of the skin after washing it with soap is crucial. Basically, no matter how gentle a cleanser is, it has chemicals that mess with the pH. This step helped my skin so much that I cannot see how it could be skipped. There are plenty of toners on the market to address different skin issues. I shared a few more options in my last post, under the same toner category, so READ HERE.
The one shown here contains witch hazel extract, one of the key ingredients for soothing the skin. It’s the HUMPHREYS – Clarify Witch Hazel Organic Toner. It is good, however, for me, if feels a little bit drying. So if you suffer from dry skin, maybe choose another one from this brand or hydrate more with your serum and moisturizer.
Step 4: Applying serum

A serum is a product that contains one or two active ingredients in a concentrated form, targeted toward a specific need. A serum does NOT REPLACE A MOISTURIZER; instead, it helps the later one do its magic.
There are serums with vitamin C for brightness, with retinol to minimize fine lines, with hyaluronic acid for plumping and hydrating the skin, or with peptides to improve skin texture, and many more.
Currently, I have been testing this one from Missha- for over theree weeks- the Time Revolution Night repair Ampoule 5X which is supposed to be a dupe for Estee Lauder’s Advanced Night Repair. It is not quite a dupe, but it’s still a very nourishing serum that provides intense hydration, clears the complexion, improves the appearance of fine lines, and gives elasticity to the skin. Coming from the K-beauty market, it is really a great serum that makes my skin feel wonderful and I simply adore it. My skin feels silky, and I use it morning and night to really see the results.
Once my skin has absorbed the toner, I like to spray some thermal water- but that’s just me, as I am addicted to thermal sprays. Only then do I massage the amount I pick up in one dropper over my entire face, neck, and eye area. I wait for two minutes and then proceed with the next step.
Step 5: Applying eye-cream

The next step for me is a must. There are people who can manage to use their moisturizer as an eye cream, but the skin around my eyes needs hydration that lasts for hours.
Now, every person has their own needs for the eye area. There are different products to use when you are in your twenties versus when you in your fifties. And PLEASE, 11-12 YEARS OLD GIRLS, YOU DON’T NEED ANTI-AGING EYE-CREAM. Please stop with this nonsense; it is useless.
For the nighttime, I like to use a richer cream than can nourish my undereyes. I now like this one from CosRx Snail Peptide Eye Cream for its effects, but also for the fact that it takes more time to be absorbed into skin. Since I do not have much time in the morning before applying my makeup, it works best at night. Other than that, it has peptides, snail mucin, and niacinamide. It’s a K-beauty must-have product meant to brighten, hydrate, and help with fine lines and dark circles. It is a winner product; if you have time to spare, you use it in your morning routine as well.
Step 6: Spot Treatment

Occasionally, I do get pimples and spots. I have a combination skin type; my T-zone has enlarged pores and is oily. Mostly, my pimples come out on the chin area, related to hormonal imbalances (caused by stress, sometimes not eating right, or even just eating right but having too many nuts, for example). Anyway, I do not have acne-prone skin, just here and there, some monsters come out. For years and years, I have had my magic solution, which even my husband swears by. It’s the hero everybody knows La Roche Posay – Effaclar Duo+ (now I use the M version). It’s a dual-action spot treatment that targets acne, pimples, and blemishes while remaining non-drying and gentle on the skin. Applying a dot on the spot for three days day and nght will dry out the monster pimple and reduce the inflammation. For daytime use, YOU MUST APPLY SPF ON TOP.
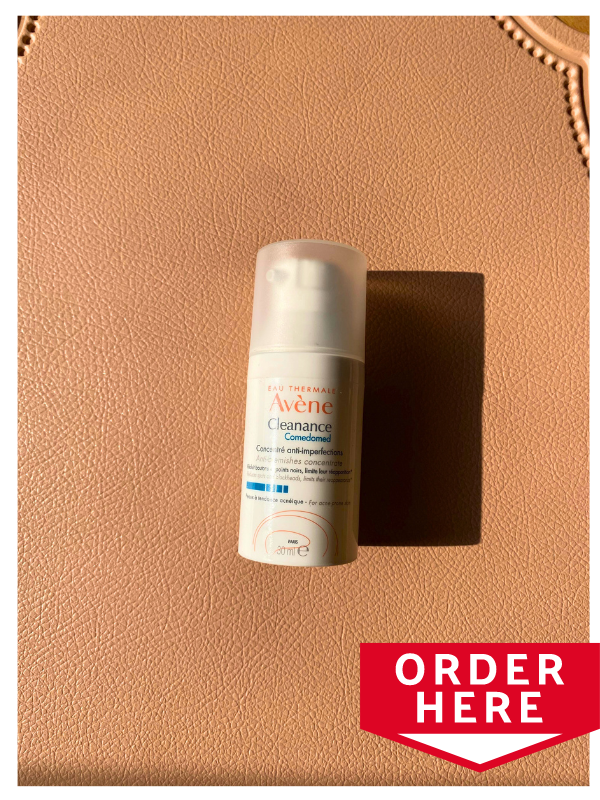
The second product I have discovered over the last year is the Avene Cleanance Comedomed Anti-blemish concentrate moisturizer for acne-prone skin. I will make a separate article about these two products- a comparison of their pros and cons. This one is a little bit more potent, I use it for small areas on the face for seven days. It’s a blemish-targeting moisturizer that mattifies and clears the skin. The skin gets clearer, which improves its appearance (you know, when you are left with red marks from the pimples and texture). It has to be used with a moisturizer because it can feel a bit stingy; it’s pretty powerful, but it works. It’s formulated with comedoclastin, a plant extract from the seeds of the milk thistle.

Step 7: Moisturizing

The next step and the one that is most important for me, is moisturizing, according to what my skin needs at that time and according to its type. For combination sensitive skin, I will use on the T-zone whatever is left after I have applied one or two pumps all over my face and neck. I need a cream that is targeted toward sensitive skin- so no fragrance, no parabens, and no oils. For your own skin type, go for the exact the exact category of moisturizer; there are so many on the market that are so good. For dry skin, choose hydrating ones; for young skin with no major issues, light creams; for aging skin, more complex, anti-aging, vitamin-packed creams; for acne-prone skin, ONLY those targeted toward it; and for oily skin, mattifying ones.
In the wintertime, my skin feels dry and dull, so I tend to reach for a very moisturizing cream at night. This specific one from the K-beauty market Missha -Super Aqua Ultra Hyalron has hyaluronic acid, as you can tell from the name. Ten types of hyaluronic acid, to be more precise. Formulated for sensitive skin, the cream restores the hydro-lipid balance and prevents transdermal moisture loss. PS. I feel like it’s like a dupe for Bobbi Brown Vitamin Enriched Face Base. You can check out my post HERE about this perfect dupe. It’s the real deal; this cream is truly a good purchase.
As I learned from the book “Atomic Habits” , the positive result of an objective comes from the sum of little successful steps and little habits. The nighttime routine has changed the appearance of my skin in a wonderful way. Pay attention to what your skin needs, and change the products within the routine, but keep the routine itself as your skin will look so much more alive and healthy. It is not easy doing this late at night or when you’re exhausted, but try to keep all your products in one place to make them easy to reach. In five minutes, you will be all done and you will look good for the next day.
If you liked this article and want to recommend products according to your skin type and age, please feel free to leave a nice comment down below.
Thanks for the tips and reminders! I often fall foul of leaving it until the very last minute – and can’t face a PM face routine! Bad habit, I need to get into the habit of doing it after the dinner dishes!
This is super helpful for someone like me who has recently realised washing the face at night after removing make up and applying just a moisturiser isn’t enough! Thanks for the detailed tips